I don’t usually write reviews, but this one definitely deserves it.
Before installing these mechanics into a scale fuselage, I tested them on a 3D-printed airframe test bed to make sure everything was working correctly. Right out of the box, everything came prebuilt and properly set up. The servos were aligned, the swashplate was level, and the only thing I needed to do was perform a compass calibration.
For this initial test, I left the EC135 settings completely stock. My goal was simply to verify the mechanics and overall performance before making any adjustments—and I’m glad I did. The software also allows you to configure and switch between different platform profiles, which adds a lot of versatility to the mechanics.
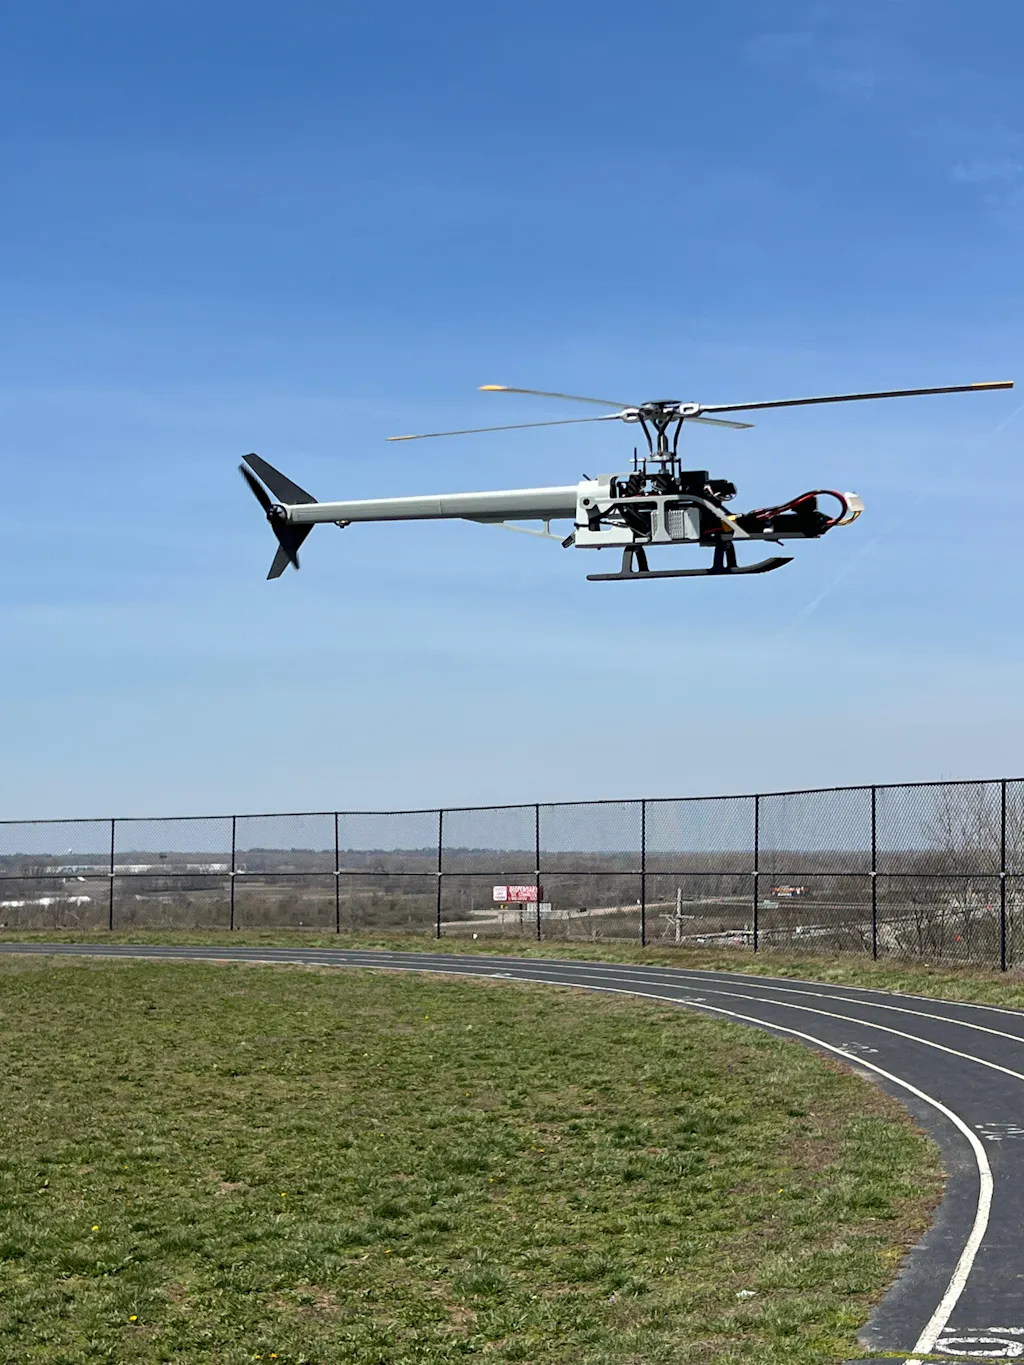
The test platform I used is a 3D-printed airframe test bed that’s compatible with these mechanics. It’s a great way to troubleshoot, test, or swap components without risking damage to an expensive scale fuselage.
Overall, I am extremely impressed with these mechanics. They flew perfectly on both flights. The first flight was in high winds (gusting conditions), and they handled it phenomenally. The second flight was in calm conditions, and they performed just as flawlessly. What’s even more impressive is that this was all done using the stock settings.
Flywing really nailed the quality control on these mechanics. You can tell they are listening to their customers and refining their products to make them more reliable and easier to fly.
Personally, this is the route I’ll be going moving forward. Since I 3D print a lot of fuselages, having reliable, plug-and-play mechanics like this gives me a ton of flexibility.
Recommendation:
If you plan to buy these mechanics, I highly recommend using a 3D-printed airframe test bed first before installing them into your scale body. It’s a simple step that can save you from costly mistakes—especially if something in the software isn’t set up correctly. I have a couple videos. I’ll be posting very soon. You can go to Pilot Bowser on YouTube.