Join Our newsletter
Subcribe to get information about products and coupons


Couldn't load pickup availability
| Vendor: | Goosky |
| SKU: | GT020140 |
| Barcode: | GT020140 |
| Availability: | In Stock |
| Product Type: | Helicopter Part |
| Weight: | 0.15 lb |
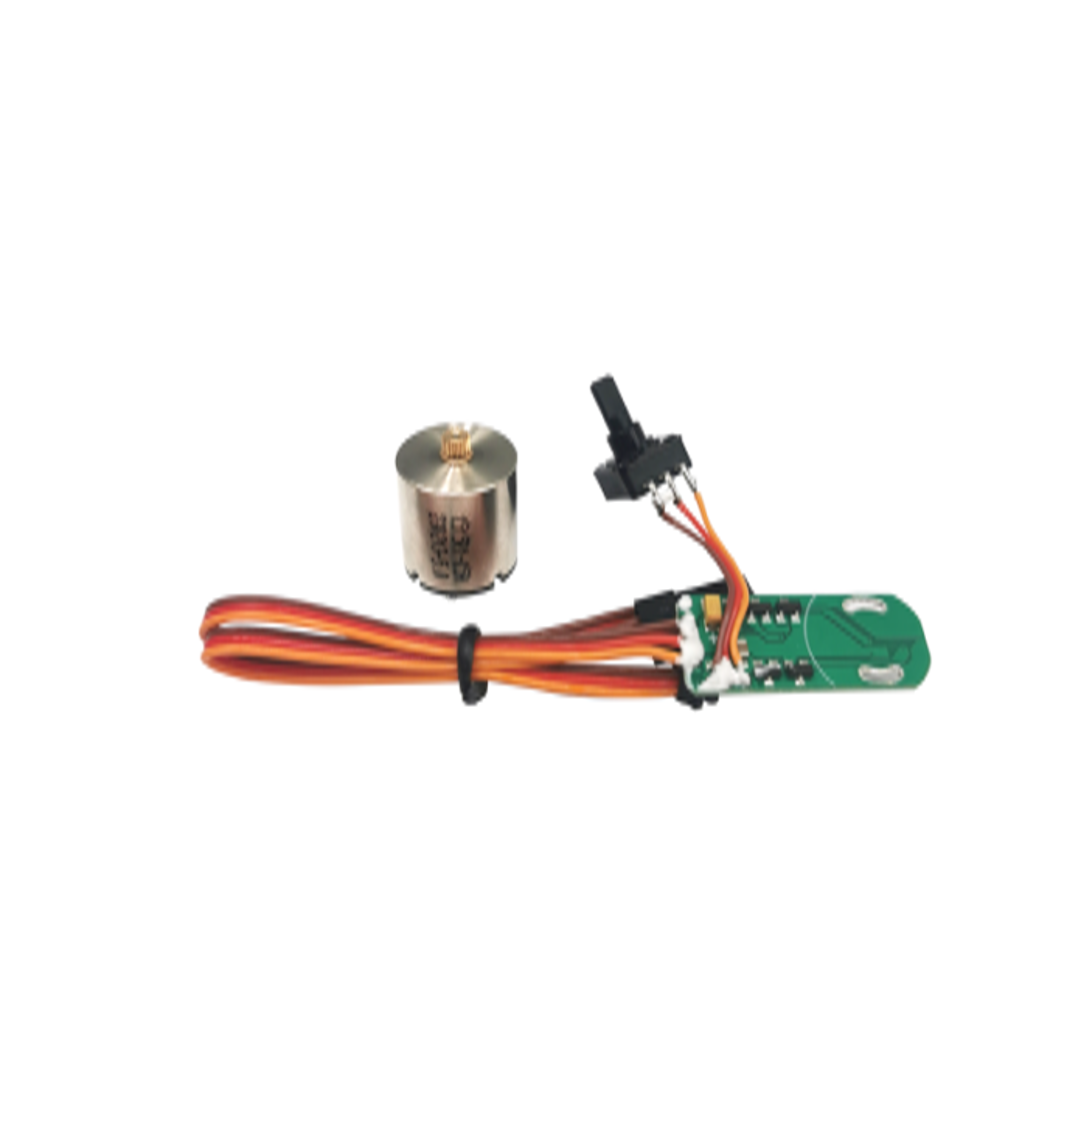
First off: HeliDirect charged a fair price and delivered product pretty fast (4 days after ordering). Replacement board comes separate from the motor which must be soldered on in your shop. Also comes with a simply diagram to show the board & motor polarity.
Note: GooSky servos are a little 'rough' on the inside. Gearing seems fine: metal cards are used inside the metal case. But the potentiometer is held in by significant amounts of glue, which is hard to remove to replace this board.
Helpful hint: Once original board, motor, and potentiometer have been removed, carefully slide the new motor into its slot and firmly meshed with gearing. Then, install the new potentiometer before slotting control board over servo motor electrical tabs. This will ensure correct alignment/fitting of the board once the solder joints are completed.
This does fit and work
Very important to flush the motor to board during soldering.
During installation make sure you bend the potentiometer wires back so the don’t touch motor can. And short out.
Also check for proper gear operation and free movement.
Yes you do get the polarity instruction for motor to board.
But
I tried to replace this board but without success. It kept shorting out and would never work properly. I am sure it was not the fault of the board but something I did that should have been done more carefully.
Thanks for subscribing!
This email has been registered!